Scenery
Backdrop lights
Sep 14, 2016
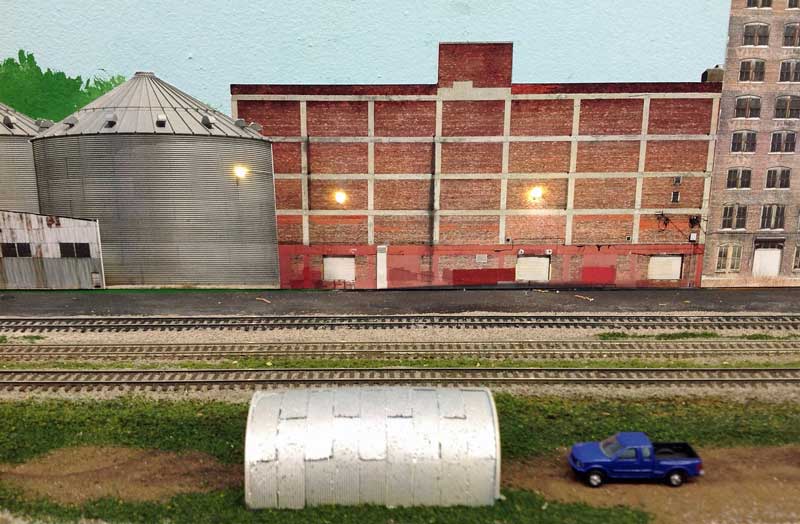
In several areas around the layout, I have photo-realistic backdrop flats, made from pictures of real industries around Kansas City, taken by my buddy, Steve. They add a great sense of realism to my industrial areas.
I recently added LED lights to the flats in St. Charles, simulating the security lighting that you would see in any industrial or urban area. Using very small. pre-wired LED, and adding magnet wire to the leads, a small hole was drilled into the backdrop. The LEDs were secured with a drop of CA glue, and the leads snaked down to below the layout. As per my usual lighting method (described on other blog entries), I made a bus for the wires and powered them with my 12 volt supply.
The effect is quite nice, and make the flats seem less 2-dimensional.
Lights arrive at Columbia!!
Jun 19, 2016
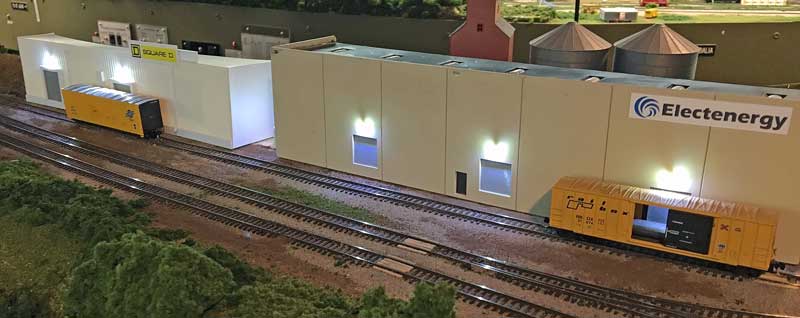
I spent the day in the Layout room, cleaning track and doing some projects that have been lingering on the to-do list. This includes installing LED lights on the tip-up industrial buildings at Columbia, Square D and Electenergy. I used the same copper foil bus techniques that I described earlier. I used 1K resistors, so the light are not quite as bright at the ACF lights over in St. Charles.
This was an easy project, but the effect is really nice.
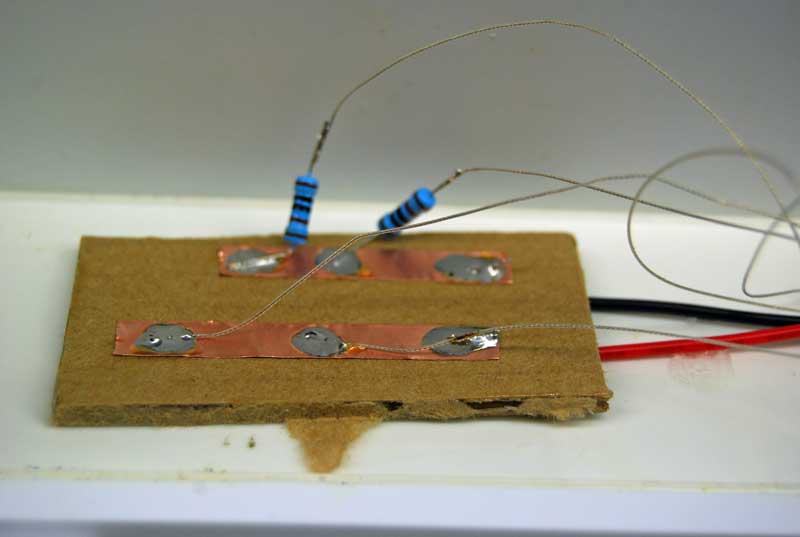
Closeup of the copper foil electrical bus. A wiring harness is soldered to each bus, keeping the wire color orientation the same. I use the standard DC wire color of red for +Voltage and black for ground.
Progress at St. Charles
Jun 18, 2016
I'm wrapping up St. Charles for now, so I can concentrate on cleaning track.
Here are a few progress shots. I still have some ballasting, ground cover, and background work to do, but wanted to share these pics.
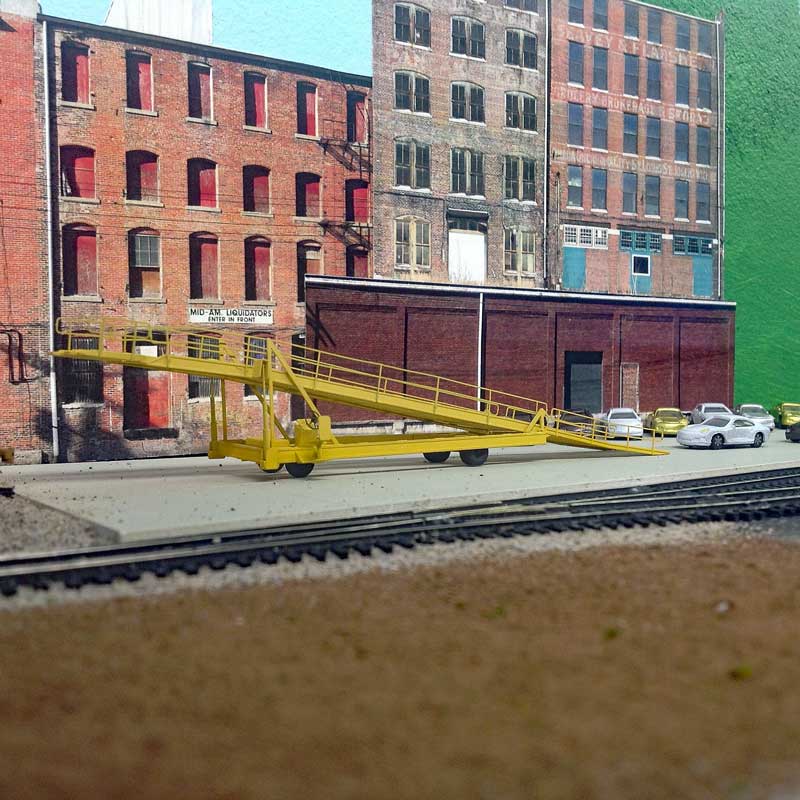
Auto loader at the Hazelwood Autoramp

Cars awaiting loading at Hazelwood. The NS interchange tracks are to the right.
Latest iteration of the staging hole hiding project
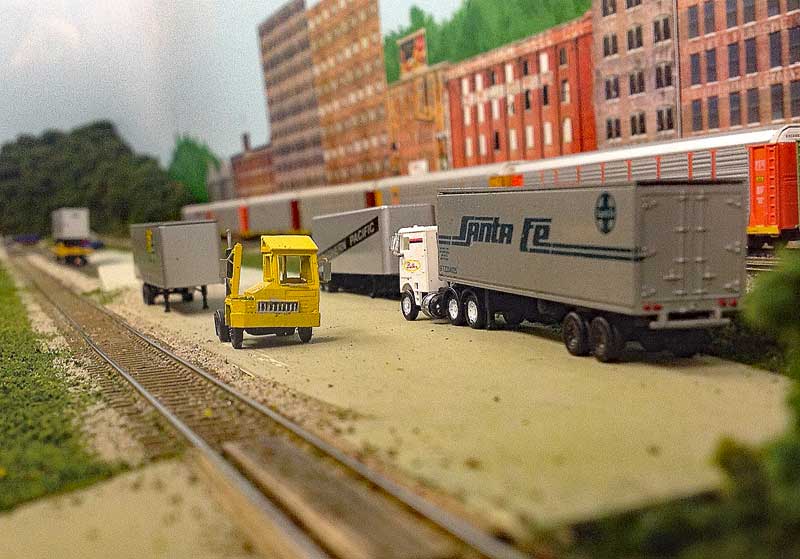
Trailer awaiting loading at the St. Charles Pig Ramp
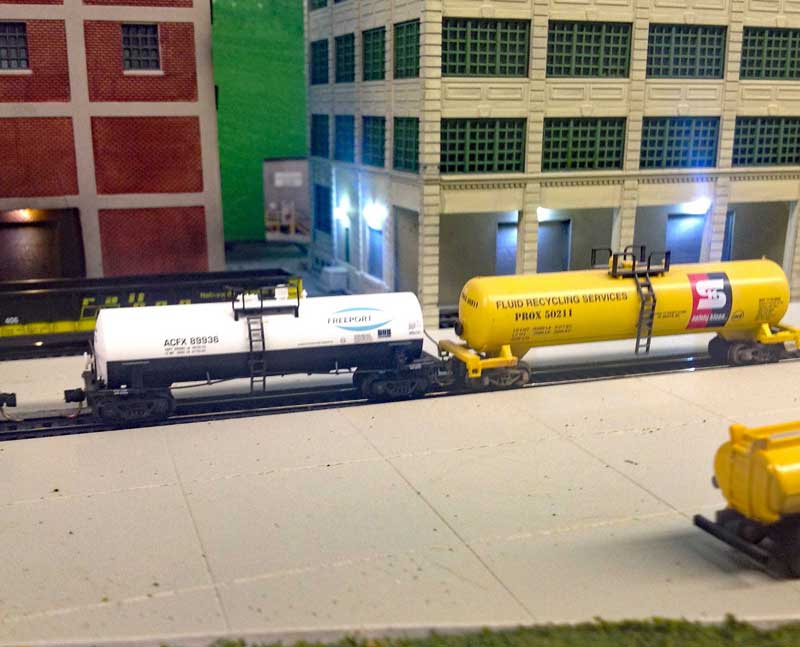
Tanks at Safety Kleen.
Here are a few progress shots. I still have some ballasting, ground cover, and background work to do, but wanted to share these pics.
Auto loader at the Hazelwood Autoramp
Cars awaiting loading at Hazelwood. The NS interchange tracks are to the right.
Latest iteration of the staging hole hiding project
Trailer awaiting loading at the St. Charles Pig Ramp
Tanks at Safety Kleen.
Guest Blog Entry! How to improve cheap eBay trees
Jun 16, 2016
An acquaintance of mine and good friend of Steve's, NMRA Board Member Kathy Millatt shares her ideas about improving inexpensive trees from eBy. Great info, Kathy! Thanks for sharing.
Work Night - St. Charles is ROCKING!
Jun 09, 2016
I am SO grateful for friends like Steve and Joe. At tonight's work session, Steve helped toward completing the ballast and base scenery at St. Charles, and Joe tackled the "turnout replacement project from hell" at West Rhineland. Joe hung in there until all the turnouts and track were installed. i marvel at his tenacity and ability to think through a problem and, believe me, those turnouts were a problem. We were trying to retrofit the turnouts without disturbing too much of the ballasted and scenicked track, when we probably should have just ripped out the entire area and started over.
Thanks Joe and Steve for your help tonight!
Scenery work really makes a mess of the layout. I will soon put all the scenery materials away and start concentrating on cleaning the room and the track in anticipation of the layout tours and operating sessions for the N-Scale Convention coming up in late-June.
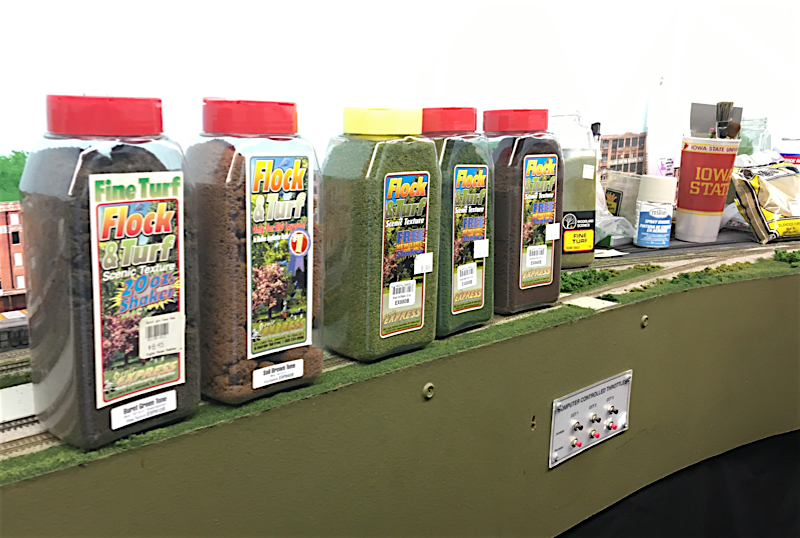
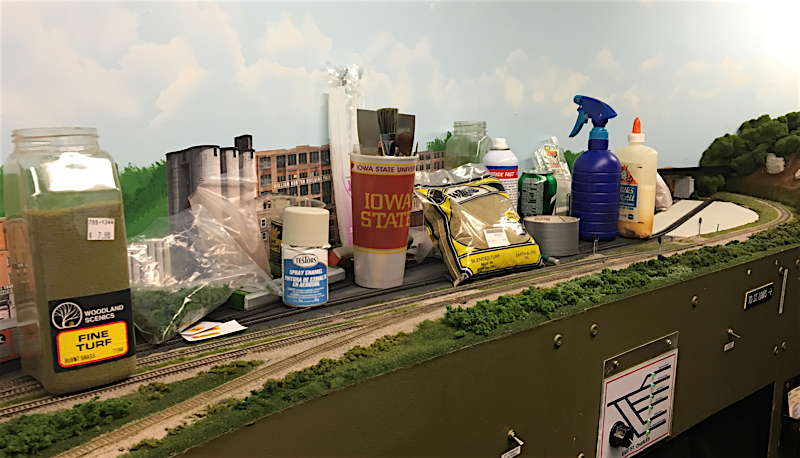
Scenery materials aren't cheap, but they seem to go a long way on the layout.
New Scenery at St. Charles!
Jun 07, 2016
Phase I scenery - ballast and basic landforms. We'll come over this with additional scenic elements and weathering
Last night was another great work session with my scenery gurus, Steve and Dan. We worked at the St. Charles area, ballasting track at Tavern Rock, improving the pig ramp area, and continuing work on the pavement at Safety Kleen and the autoramp.
The new scenery looks great, but along with the improvement comes a maintenance headache – frozen turnouts. Ballast and glue doesn’t mix well with moving parts, and each turnout needs to be “exercised” while the ballast dries to ensure that movement is free and non-binding. Often, we will need to spray water into the turnout points to free up imbedded ballast. It’s not a big deal, unless you forget to check them until just before an operating session, then PANIC!
Special thanks to Steve and Dan for the help, and especially to Dan for the lively Bob Dylan impressions!
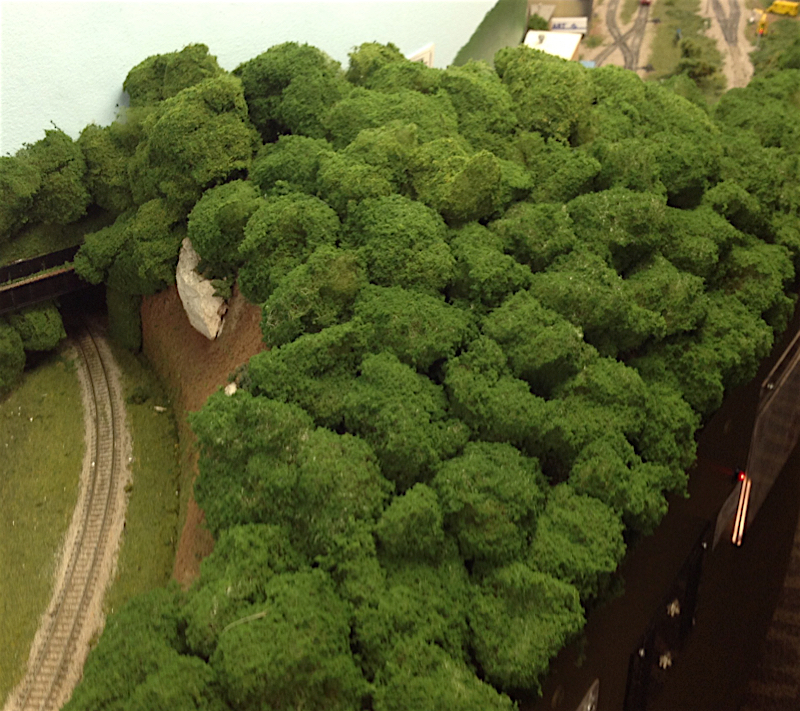
I also added a TON of additional trees to the visual divider between St, Charles and Lick/Boonville. It looks GOOD!
Here is an imitation of Bob Dylan almost as good as Dan's:
Master of Disguise - a work in progress
Jun 02, 2016
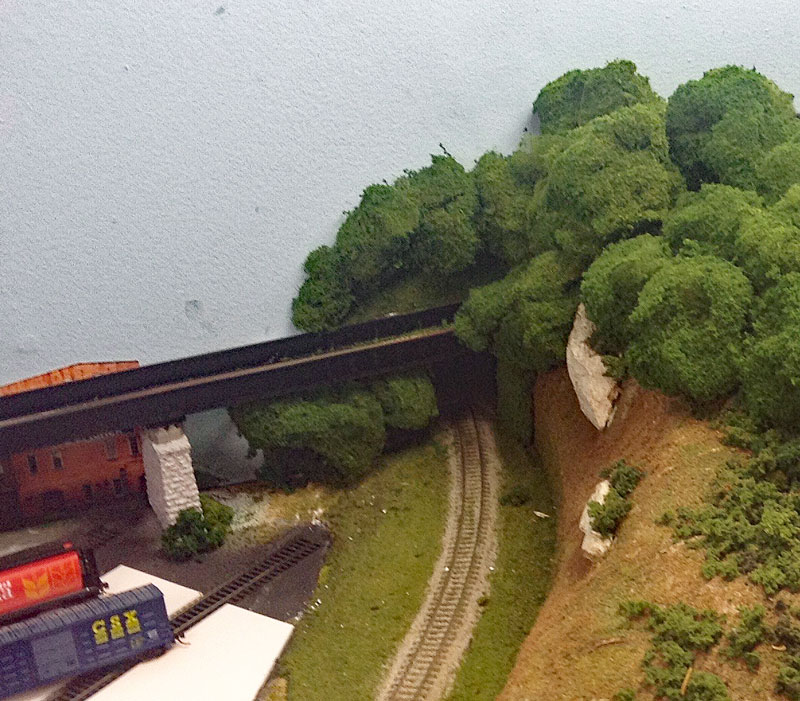
I've been working on obscuring the opening at St. Charles, where the track punches through the wall into staging. It's a work in progress, but the effect is already much better than the gaping hole that was there before. I need to replace the N&W train on the bridge and place more ground vegetation, but it's getting there.
More dang trees!
May 30, 2016
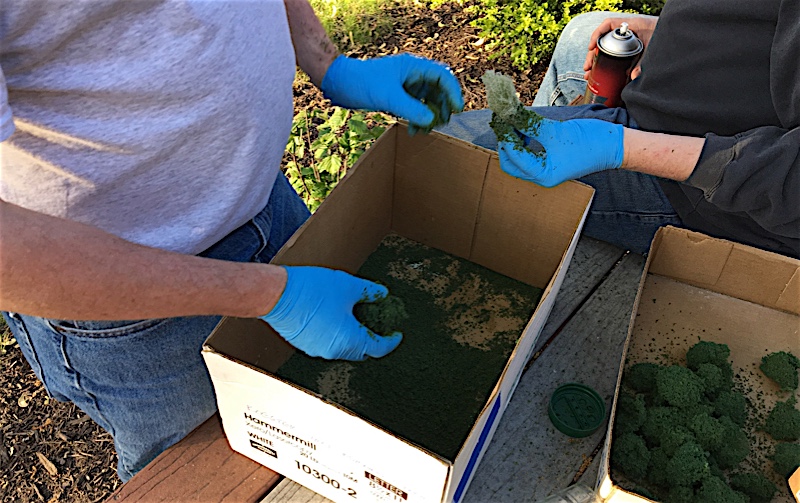
Tools of the Trade (if your trade is tree-making)
Today's calm, windless weather made for perfect conditions to make layout trees. Since spray adhesive is involved, any wind creates havoc and gets adhesive all over everywhere!
I had previously made up a couple bags of "tree balls", and I had recently purchased a healthy supply of Woodland Scenics "medium green" coarse turf, so I was good to go.
It's not too bad as a one-person operation:
- put on your Dr. Jellyfinger gloves (not required but you thank me if you use the gloves. Cleanup is SO much easier)
- place your supply of trees, a container with plenty of ground foam, and a big open box or box lid within easy reach. The box lid is to contain the finished trees
- with one hand, grab a tree ball with the long tweezers (these tweezers are going to get covered with glue and ground foam, so I dedicate a pair or two for the task)
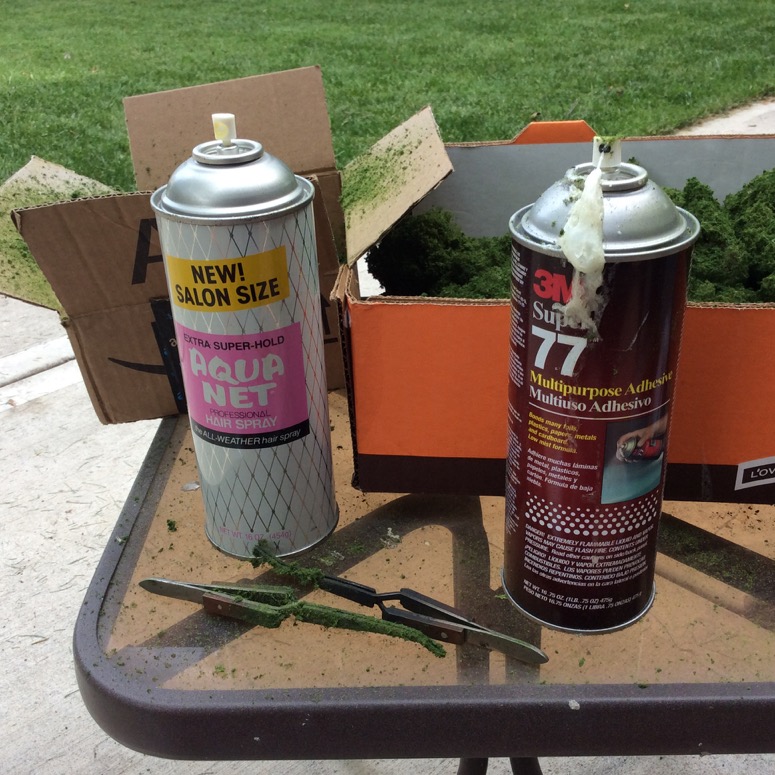
- with your other hand, spray the tree ball with the spray adhesive (I use 3M Super 77, but I have also used cheap black paint in the past. The spray glue works mo' betta'). I try to not spray the area around the tweezers too much.
- keeping the tree ball in the tweezers, place the adhesive-coated ball into the ground foam. Set down the spray can and gently dribble foam over the ball with your free hand. You can completely coat the ball in a couple of seconds
- Tap the tweezers against the side of the foam-containing box or rap with your free hand to dislodge any extra ground foam not held in place by the glue
- Move your tweezers over the box lid, open the tweezers slightly to free the foam ball, and push the ball off the tweezers with your free hand
- pick up another foam ball with the tweezers, grab the spray can with your free hand and repeat until all the poly fiber balls are gone!
Be mindful of where you are spraying the glue, there tends to be a bit of overspray, and it will get on things your don't intend, if you are not careful.
The tweezers will slowly accumulate an increasingly thick layer of ground foam. Scrape it off periodically.
You can 'plant' these trees on your layout using the same spray adhesive or hot glue. I prefer the hot glue, because the spray glue does have that overspray and can settle on things like track and other scenery. Hot glue is fast and I find it very convenient. Get a quality hot glue gun (Elite Operator™ tip! Hot glue is HOT! Be careful not to push your fingers into a pile of molten glue when placing the trees. It hurts like heck. Ask me how I know!)
Now, go forth and create that forest you've been dreaming about.

Trees ready to be planted!
New Pavement for Safety Kleen
May 19, 2016
Safety Kleen at East St. Charles
(right click and open to embiggen)
Tonight was Thursday work night, my favorite night of the week! Steve came over and we started the scenery upgrades for Safety Kleen, a tidy industry nestled along a bend in the tracks at east St. Charles.
Safety Kleen is a spent oil and liquid waste transfer facility modeled after a similar oil transfer facility in Olathe, Kansas, served by the BNSF (on the former ATSF track). The industry is very simple - a spur track with room for three tank cars. A big paved parking lot to allow semi-tank rigs to maneuver. Simple spill pads at the car spots. Security fencing.
We used Sintra PVC board for the paved area. Sintra is a rigid, but lightweight, closed-cell extruded PVC board with generally a low-gloss matte finish. It is used a lot in the sign industry. You can cut it easily with a knife or razor blade, and I've been told that the thicker sizes cut well on a table saw.
The basic forms for the pavement were established using masking tape on the layout, which was then transferred to the Sintra board. The board was then cut to shape, and fine adjustments were made with a wood rasp.
Later, we will lightly score the board to suggest concrete joints and paint it a light gray concrete color (Steve likes Testors 1233 - Flat Light Aircraft Gray) . The addition of details such as staining, cracks/weathering, some etched fencing.and a couple of LED security will complete the project!
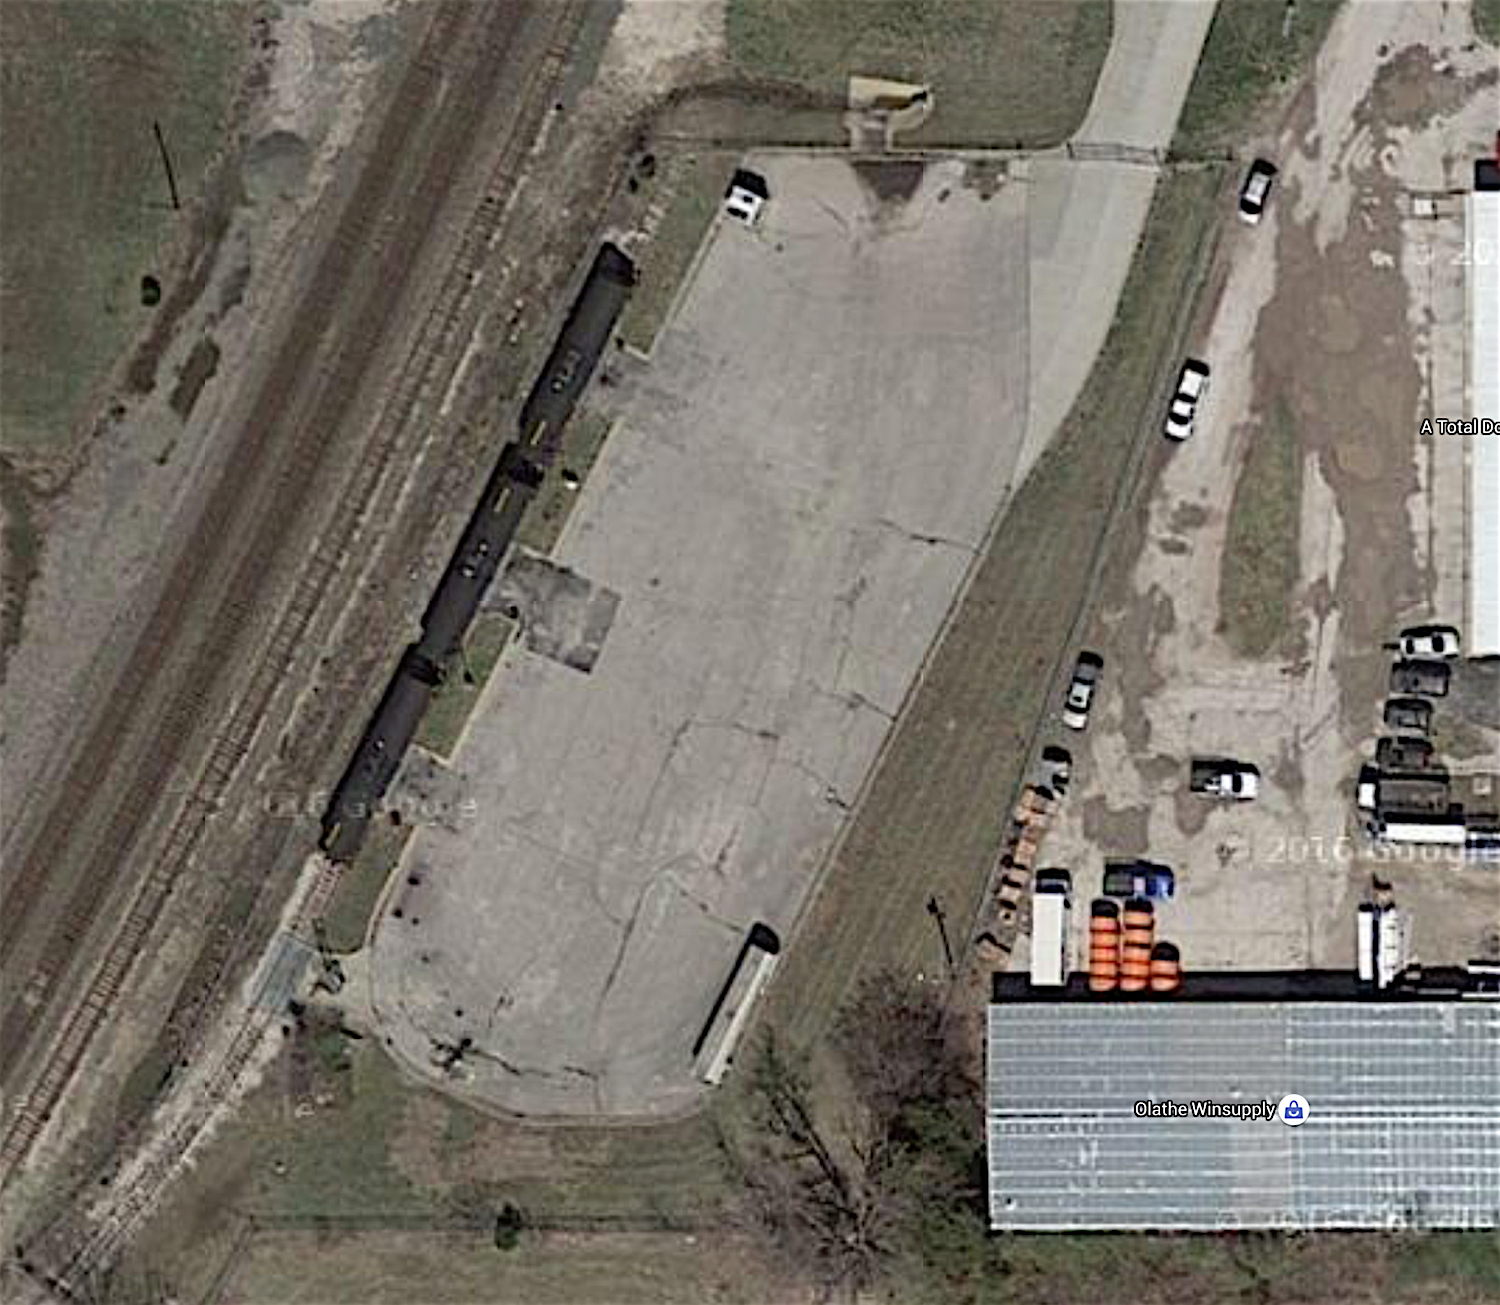
Here is the prototype industry in Olathe, Kansas. It's as simple a trackside industry as you could envision!
(right click and open to embiggen)
Killing three birds with one stone
May 11, 2016
Eating lunch, watching trains, and making polyfiber trees
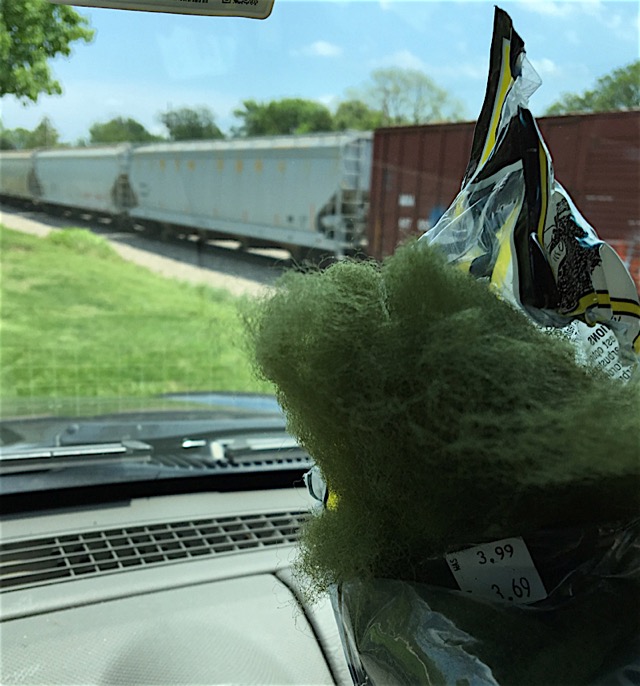
Today, was a Wednesday, a typical Wednesday. I did get my windshield replaced on the Jeep, so I guess that was not particularlly typical.
But what was typical was that I spend the lunch hour down at the depot (in old town Lenexa), hoping for a train or two. As as I often do, I pull out a bag of Woodland Scenics polyfiber and form tree structures. OK, we call them "tree balls". I was trying to be classy.
A bag of polyfiber goes for about $4 with tax, and it will make about a plastic bag full of tree balls. That may seem like a lot, but they go pretty fast on the layout.
Since I model the northern Ozark Highlands, my layout needs trees. Lots of trees. A BUNCH of trees. So I am very familiar with the polyfiber tree-making process. Buy some polyfiber. Open the bag and gently unravel the big pieces contained therein. Pull off a palmful of fiber, and tease it repeated to increase the volume. Gently roll the expanded fiber into a vaguely round shape. Place tree ball into bag. Repeat.
Later, I will do the spray adhesive and ground foam part, but for now, it's pull, tease, shape, deposit, and repeat.
It's a perfect activity for those times where you've finished your sack lunch and you are waiting for trains to come along the old Frisco main in Lenexa. I can usually complete an entire bag before my hands get tired of pulling and rolling, so I make it a goal to complete the bag before I drive back to work. At the end of the day, the sack o' balls goes in the house and down to the train room for future conversion into backdrop trees.
So, the Elite Operator™ tip of the day is: Keep a few bags of polyfiber in your car. You never know when you can knock out a bag or two of tree balls!

A bag o' balls, ready for spray adhesive and foam!
One thousand trees = a tiny hill
Apr 16, 2016
At my recent Thursday night work session, we made polyfiber trees. Oh, boy! did we make trees! Two solid hours of spray adhesive and dipping into ground foam. I had previously formed the polyfiber trees balls - I take a bag of fiber along with me while I railfan, and I pass the time between trains making the tree shapes.
At the end of the night, we had seemingly a thousand green tree balls (yes, there were plenty of 'ball' jokes that night). You would think that all those trees would be plenty to cover a vast expanse on the layout but, in reality, all those trees don't go as far as you might think.
So my advice to the prospective layout owner is: model the desert!!! Barring that, get starting making polyfiber trees!

Steve enjoys the fine fragrance of solvent-based adhesive
Teamwork is important as the sprayer hands off the proto-tree to the dipper
At the end of the night, we had seemingly a thousand green tree balls (yes, there were plenty of 'ball' jokes that night). You would think that all those trees would be plenty to cover a vast expanse on the layout but, in reality, all those trees don't go as far as you might think.
So my advice to the prospective layout owner is: model the desert!!! Barring that, get starting making polyfiber trees!
Steve enjoys the fine fragrance of solvent-based adhesive
Teamwork is important as the sprayer hands off the proto-tree to the dipper
New lights for East Rhineland
Apr 02, 2016
The upgrades continue, this time with some security lighting for the East Rhineland industries.
These are super bright, pre-wired, and tiny LEDs that are available on eBay.